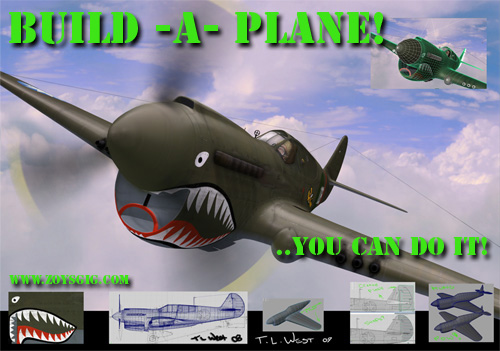
AeroRetro: Build -A- Plane 3D Tutorial: Part 1 >1 2 3 4 5 6 7 8 9 10 11 12 > Part 2
Step 8:
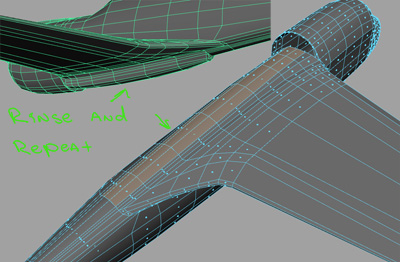
Now that our model is looking pretty good, we can go ahead and finish up the fuselage. While you may or may not be modeling a P-40, let's use these next steps to add any remaining intakes, blisters and the like.
Go ahead and select some faces, good.... just grab'em and give'em a tweak... remember there are only happy mistakes.

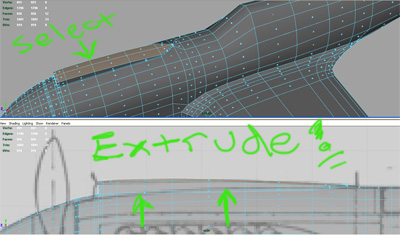
As before, the extrudes follow the same routine as described earlier.
Step 9:
Continue to shape the plane, moving aft to the tail sections. You may or may not need to add some detail to shape the elevator. Once shaped, extrude the faces and pull out to match the reference shape.
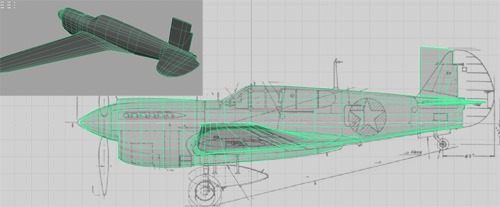
You will want to add a few loops to help make the edge when the elevator is extruded and later detached from the horizontal stabilizer.
Let's pull the horizontal stabilizer out at this time as well. You can extrude the fuse out to add the rudder at this time but it's easier just to make it a separate shape.
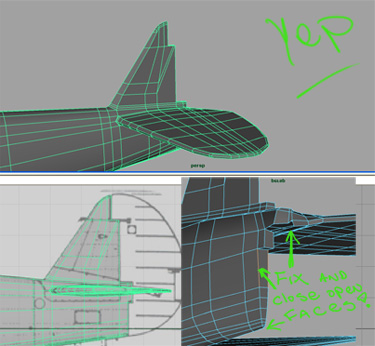
This is a great time to clean up and close the tail...since we're right here =)
Step 10:
Now for the rudder. Go ahead and create a cube. Scale it roughly into shape and add divisions in logical locations that match your reference. Grab the verts and shape.
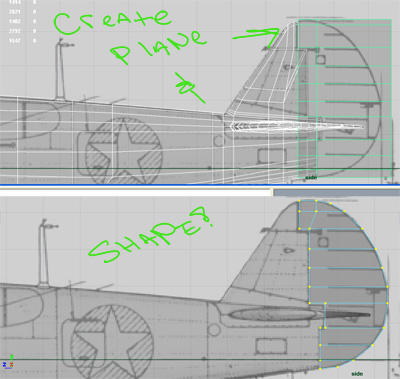
Add a edge loop down the center of the trailing faces and use the scale tool to create a rounded edge.
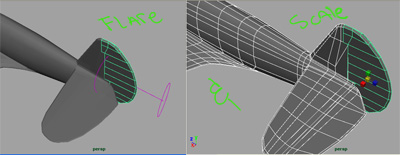
I used a flare deformation to help with the taper. That allows you to shape the entire mesh as opposed to individual verts or faces. This method works well for wings and fuse shapes also.
< BACK .. NEXT >